Shoot Time Lapse Videos Using Your iPhone
Last updated on October 29th, 2014 at 11:22 am
Posted in Apps or Games by Tyrone on September 3, 2014
Hyperlapse from Instagram.
However, there already is a popular app available on the App Store. Hyperlapse from Instagram allows you to shoot impressive time lapse videos using your iPhone and share them with your friends. The app is free and very easy to use. So, you don’t need to wait until you upgrade to the latest iPhone model or iOS version. Read on and find out how to use Hyperlapse!
What is a Time Lapse?
But first of all let me explain what a time lapse actually is. This cinematographic technique allows the cameraman to create the effect of time moving faster, the lapsing effect. This is achieved by modifying the frequency at which film rates are recorded.
During a time lapse recording your iPhone’s camera or any other capturing device will record videos at a significantly lower number of frames per second. When the video is then played back at normal rate, the time lapsing effect is achieved.
iPhone Time Lapse Tips
You need to follow a few basic tips in order to shoot a quality and impressive time lapse.
– Steady: First of all, no matter what your time lapse subject is, you have to ensure that your iPhone is stable. You need to use a tripod or prop your arm in a fixed position. If you shake your device, the time lapse will lose it’s effect.
– Subject: Picking a proper subject for your time lapse is essential. In order to achieve a spectacular footage you need to film a continuous process like: sunrise or sunset; busy highway traffic, cloud movement, melting ice, flowers opening and closing and so on.
– Battery & Storage: Depending of what kind of time lapse you wish to record, you need check your battery and storage space. Time lapses can be shoot in a few minutes or in a few hours. So, plan ahead!
Hyperlapse menu.
This app is really easy to use. Visit the ‘App Store’ search and install ‘Hyperlapse from Instagram’. Open it and press the Shutter button to start recording. A timer is displayed in the bottom left corner, measuring the actual recording time. Next to it a second timer is displayed, which shows the length of the rendered time lapse.
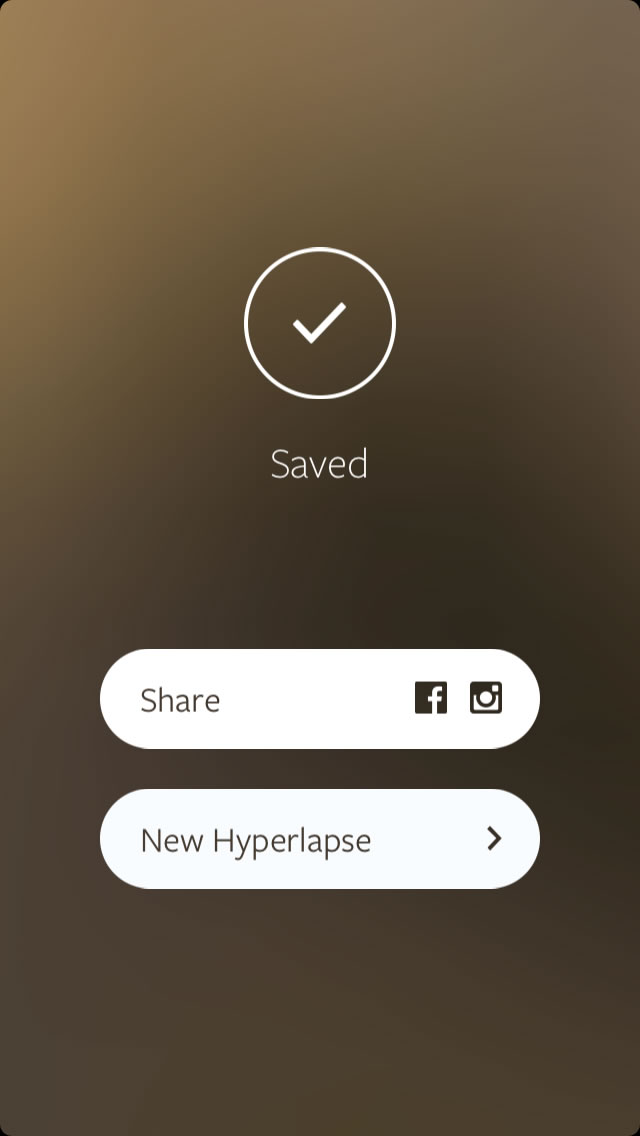
A great feature is that the app allows you to select the speed of the time to lapse. You can make your video between 2X and 12X times faster as normal. So, if you shoot an 1:20 min video and select the time lapse speed of 12X, your rendered time-lapse will measure 10 seconds. You can switch between speeds before ultimately deciding and saving your time-lapse. The lapsed footage will be available in the ‘Photos’ app. You can also share it on Facebook or Instagram, if you wish to.
Hyperlapse vs Camera App Time-Lapse
The iPhone’s built-in app excels when it comes to high speeds of time lapsing. This means that you can record a time-lapse for 10 minutes or 2 hours and the end result won’t be a video longer than 40 seconds. This means that the software automatically increases the speed in order to shorten a large capture. This can be good and bad in the same way. Hyperlapse wins many votes because of it allows you to select the time lapse speed and preview the outcome before saving. The downside is that you can’t go faster than 12x. My recommendation is to have both apps on your iPhone. You can download Hyperlapse for free, from the App Store.