Personalized Spatial Audio Setup, Test & How To Use (iOS 16)
Personalized Spatial Audio
Personalized Spatial Audio is a new audio feature available with compatible AirPods, in iOS 16. It allows you to listen to spatial audio content in a personalized way, because iPhone is able to map your ear geometry and thus provide an unique audio experience.
What Is Personalized Spatial Audio?
Spatial Audio is a technique of creating sound in 360 degrees around the listener for a more immersive experience.
Apple is able to personalize the Spatial Audio experience with the help of AirPods and an iPhone, iPad or Mac. It practically needs a camera to be able to map the geometry of your ears and save your unique Spatial Audio profile.
Personalized Spatial Audio delivers improved audio that is able to follow the movement of your iPhone allowing you to listen to movie and TV show audio rendered immersively in three dimensions.
How To Set Up Personalized Spatial Audio
The first time you connect AirPods Pro, AirPods 3 or AirPods Max to an iPhone / iPad running iOS 16 / iPadOS 16 you’re prompted with the Personalized Spatial Audio setup screen:
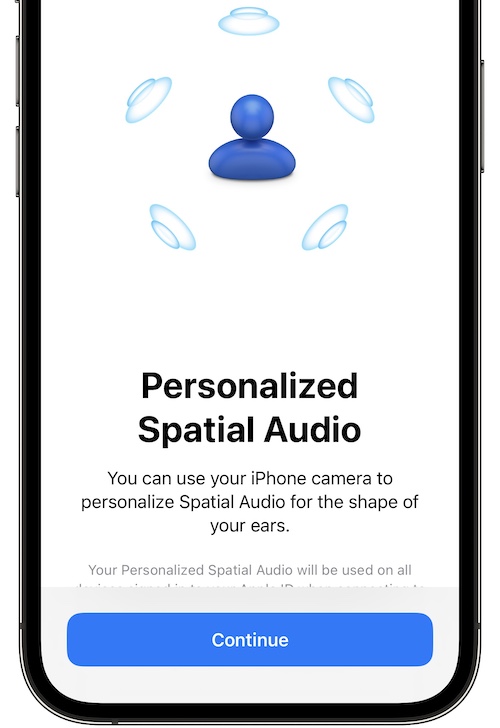
- Tap Continue and make sure that you take the AirPods out, because iPhone camera needs an unobstructed view of your ears.

- Perform the Front View scan by positioning your face in the camera frame. Then. move your head in a circle as you would do during Face ID setup.

- Tap Continue if the Front View Capture is successful, to capture the side angles and complete the Personalized Spatial Audio setup.
- Right Ear Capture is first. Position the right side of your head in the camera frame, with an unobstructed view of your ear (Don’t wear a hat, head band or anything else). Then, gently move your head to the left and right to capture all angles of the right ear.
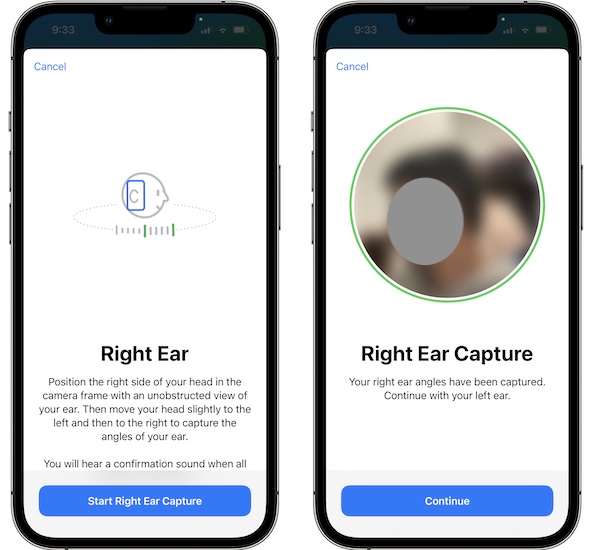
If everything is OK the Right Ear Capture is confirmed and your asked to Continue. - Left Ear Capture works the same. Move your head gently to the right and to the left. Maintain the sideways profile view, don’t look at the camera. A confirmation sound is played when all angles are covered.
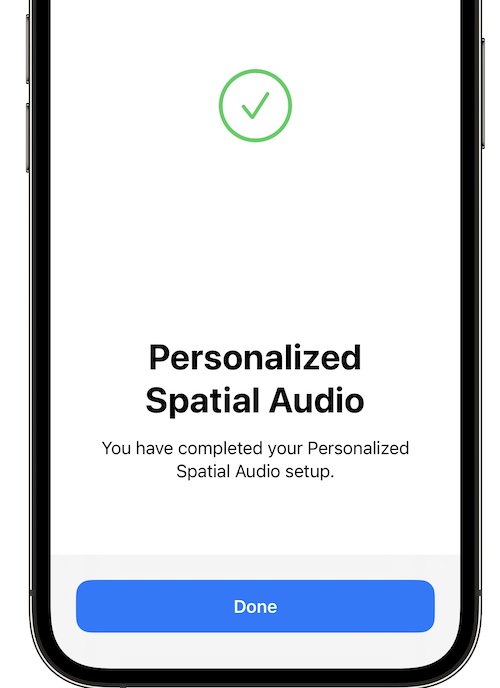
That’s it, by now you should have completed the Personalized Spatial Audio setup!
Tip: You can also manually initiate the Personalized Spatial Audio setup in Settings -> AirPods [name] -> Personalized Spatial Audio
How To Test Personalized Spatial Audio
Now, it’s time to hear the difference:
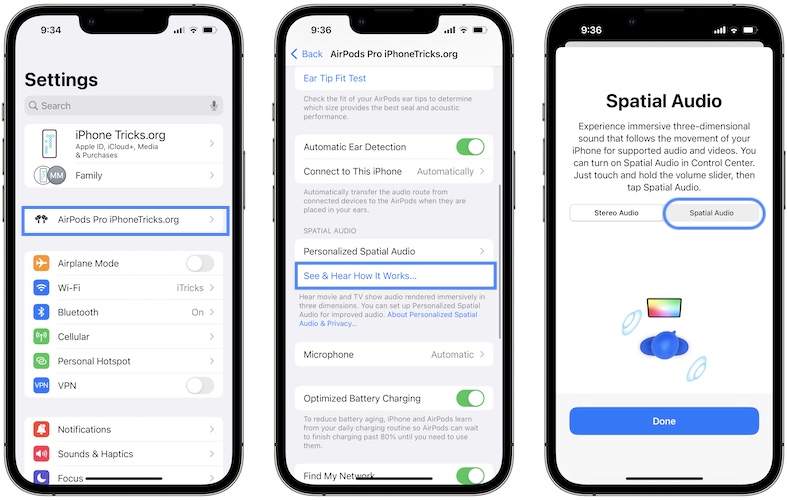
- Wear the AirPods and navigate to the new AirPods menu at the top of the Settings home screen.
- Tap it and scroll for the Spatial Audio section. Tap on See & Hear How It Works…
- On the Spatial Audio test screen, compare sound in Stereo Audio vs Spatial Audio. Notice the difference?
- Tap Done to stop the test.
How To Use AirPods Personalized Spatial Audio
To be able to take full advantage of the Personalized Spatial Audio feature you have to listen to audio encoded in Dolby Atmos.
Tip: To enable Dolby Atmos for Apple Music you have to visit Settings -> Music -> Dolby Atmos
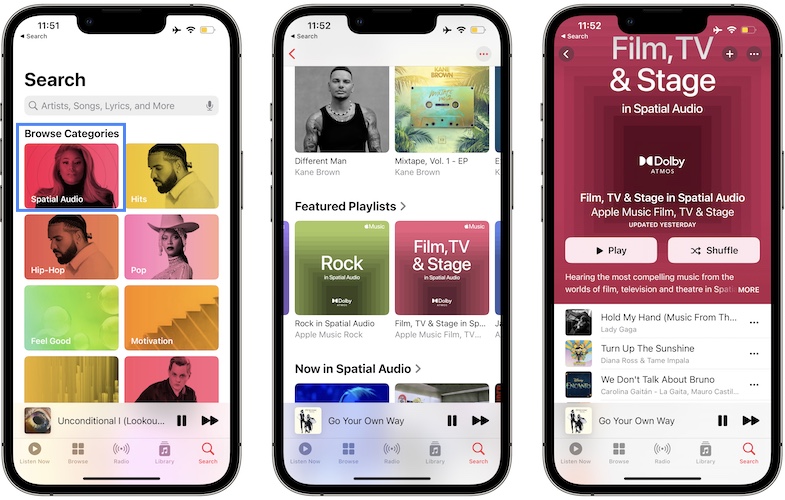
Open Apple Music and tap on the Spatial Audio category. It should be available at the top of the Search tab.
Pick a Featured Playlist from: Made for Spatial Audio, Hits in Spatial Audio, Pop in Spatial Audio, Rock in Spatial Audio and so on.
Personalized Spatial Audio In Control Center
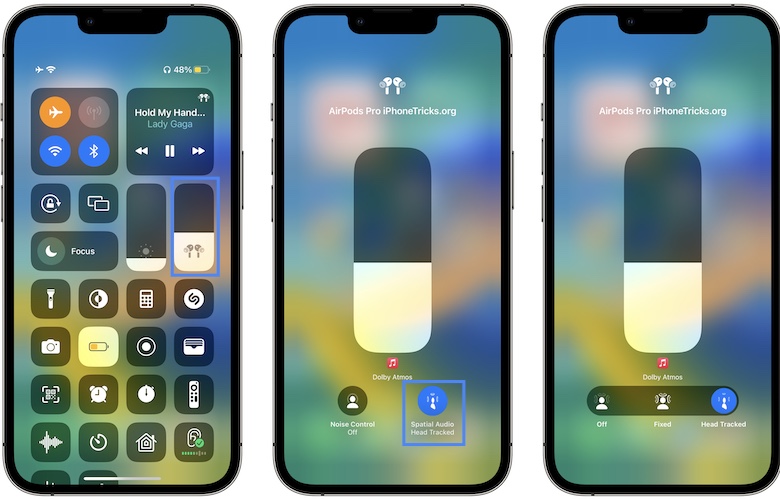
You can easily turn Spatial Audio On and Off in Control Center:
- Long-press the AirPods Volume controls.
- Tap on Spatial Audio.
- Easily switch between Off, Fixed and Head Tracked.
Fact: Audio cuts for a fraction of a second when you edit Spatial Audio playback mode.
Do you like the new AirPods Personalized Spatial Audio feature? Do you have any questions? Share your feedback in the comments.
Related: Here is how to turn on Spatial Audio music playback on HomePod.