How To Change Screenshot Location On Mac
Last updated on June 14th, 2020 at 02:35 pm
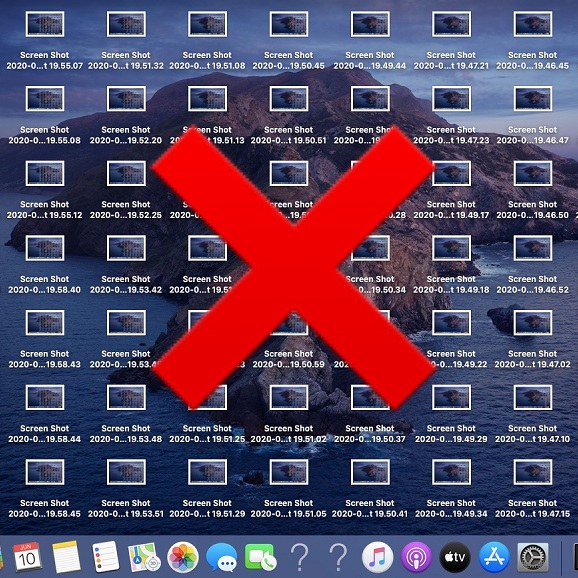
Posted in How To by Vlad on June 10, 2020macOS is configured to save the screen shots that you capture on your Mac on the desktop. This setting can fill up your workspace quite quickly and make your computer look less organized. Print-screens are usually handy for a limited time and you would prefer to have the desktop space available for more important app icons and shortcuts.
If you’re device is running macOS Mojave or later, there’s a quick way of changing the location where a screen shot is saved on your Mac. Things are a bit more complicated for earlier macOS versions but, we will tackle both situations in this article. But before we start, do you know that there are two ways of print-screening your Mac? You can screenshot the entire screen or just a part of it!
How To Screenshot on Mac
1. Full Screen
How To: Press & hold the Shift+Command+3 keyboard buttons and a screen shot of your entire Mac screen is captured and saved on your desktop. A sound similar to the iPhone camera shutter button is played by your macOS device in the process.
A thumbnail of the print screen is available in the bottom-right corner of the screen for a brief period of time. Click it if you want to markup the image. Tap Done when ready.
2. Customized Layout
How To: Use the Shift+Command+4 keyboard combo if you want to make a screen shot of just a part of your Mac’s screen. Your pointer becomes a selector tool.
Click, hold & drag the pointer to shape the area of the screen that you want to capture. The print-screen is recorded as soon as you release the initial click.
Markup: The same editing option mentioned above, becomes available if you click the print-screen thumbnail.
How To Change Screenshot Location On Mac
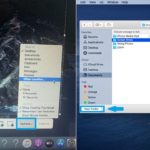 1. Use the Shift+Command+5 keyboard combo to invoke the screen capture panel.
2. Click on Options.
3. Select one of the other suggested saving locations like: Documents, Clipboard. Or tap on ‘Other Location’.
4. Use the Finder tool that pops up, to select a new target location. You can create a new folder named Screenshots and add it to your Favorites.
5. Click Choose when ready to save your changes.
How To Change Screenshot Location In macOS High Sierra and Earlier
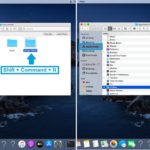 If you’re owning a Mac that runs an iOS version older than Mojave, things are a bit more complicated. Here is what you have to do:
1. Open the Finder tool.
2. Use the Shift+Command+N keyboard combo to create a new folder where you want to save your screenshots.
3. Click on Applications and browse for Utilities.
4. Scroll for the Terminal app and launch it.
5. Type the following command and press he space bar (Don’t press Enter!): defaults write com.apple.screencapture location
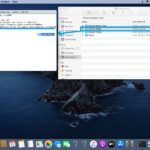 6. Drag & drop the folder that you created at step 2 into the Terminal window. The folder’s path should automatically be inserted after the command that you typed.
7. Now you can press Enter.
Important: You will get into serious problems if you delete the newly created folder, before changing the screenshot saving location to somewhere else. The change the location again you have to use the same Terminal trick described above.
Restore To Default: If you want to have your screenshots saved back on your desktop, use the same Terminal command presented above, but instead of dragging the folder to obtain its path, manually type ~/Desktop as new path before pressing Enter!
Where do you store the screen shots captured on your Mac? You prefer the desktop or a specially designed folder? Let us know in the comments section available below.
Related: How to install free new fonts on your Mac running macOS Catalina!

