How To Create An Apple ID On iPhone or iPad
Apple ID setup bypassing screen.
Do note that all Apple devices require an Apple ID in order to unlock their full features and services. Use the same Apple Identification name on all gadget’s that you own, because this is how you can easily transfer data and work efficiently between iPhone, iPad and Mac computers. You can use your iOS device without an Apple username too, but you’ll quickly realize that your missing some of the most important features like iMessage, FaceTime, App Store and much more.
How To Create A New Apple ID
You have two options for setting up an Apple account. You can do it either when you initially configure your iPhone / iPad, or later on from the iOS Settings app.
 1. iPhone Configuration: The easiest solution is to create a free Apple ID while you set up your new iOS device. Choose the email address you want to configure as username. You can use one that you already own, or create a new icloud.com email account, by choosing the username, followed by the @icloud.com. Select a Password, confirm it and that’s it you now own a fresh Apple ID.
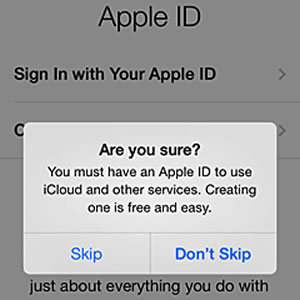
Fact: If you’re in a hurry or, because of whatever reason, don’t complete the Apple ID configuration while setting up the iPhone, tap on Skip This Step and set it up later, by following the indications provided below.
2. iCloud Settings
Whenever you decide to configure your Apple ID you can grab your iPhone, iPad or iPod Touch and proceed with the following step-by-step guide:
 Step 1: Open the Settings app and scroll for the iCloud tab.
Step 2: Sign In if you already have an account, or tap on Get a Free Apple ID to configure one.
Step 3: Enter your Birthday and tap Next, available in the top-right corner of your screen.
Fact: Your birthday used if you ever need to retrieve a lost Password. Apple also memorizes your age and uses the info to suggest appropriate services.
Step 4: Provide your First and Last Names and hit Next again.
Step 5: Now, choose if you wish to use one of your current email address or get a new one for free from iCloud. Make your selection and tap Next.
Step 6A: If you opt for a new ID, type the name of your new iCloud email and tap Next again. On the following screen, confirm your configuration by taping on Create! Do note that the iCloud email address can never be changed after creation, unless you configure an entirely new one!
Step 6B: In case you use one of your existing email address, you’ll receive a verification mail that you need to click on, in order to verify your account with Apple.
Step 7: In both cases you’ll be asked to pick an Apple ID password!
Tip: Be careful to choose a strong one because you’ll use it to validate purchases and other important functions. Build it by using upper and lowercase letters, numbers and symbols!