How To Use and Organize Apple Watch Glances
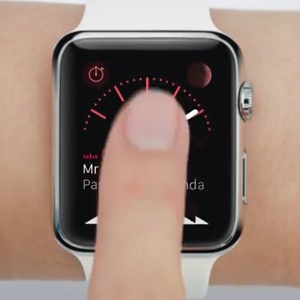
Glances on Apple Watch can be considered the equivalent of iPhone widgets. Watch OS doesn’t come with a swipe-down Notifcation Center. Instead it provides these easy accessible screens, with summarize the data of your most used apps. Swipe-up from the watch face to enter Glance view. Next, swipe left or right to navigate between different glances.
This way you can easily read information from popular screen’s like Calendar, Battery, Activity, Now Playing, Weather, Heartbeat, Maps and many other built-in and third party application. If the info provided in the app’s glance isn’t enough for you, tap the screen and the app in question opens up. Else, just swipe-down to return to the Watch face.
Glances Setup Menu
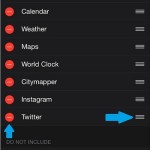
 These app summaries can be edited from the Apple Watch app on your iPhone. Open the app, tap on My Watch and open the Glances settings. You’ll immediately notice that the setup menu resembles the iOS Edit Widget screen. It also works the same way:
– tap the red minus (-) icon, next to a glance, if you want to remove it from the Apple Watch view;
– tap the green plus (+) icon, to add a glance to your smartwatch.
– tap, hold & drag a reorder button to change the glance display order and minimize the number of swipes needed to reach your most accessed view.
Settings: is the only glance that can’t be removed!
Tips for Glances
– These handy summaries won’t work if your iPhone isn’t in range. So, make sure that you within 33 feet (10 meters) close to your iOS device.
– Some glances, especially the 3rd party ones could load slower than expected, because they’re downloading data from your iPhone and transmissions aren’t fully optimized yet.

